
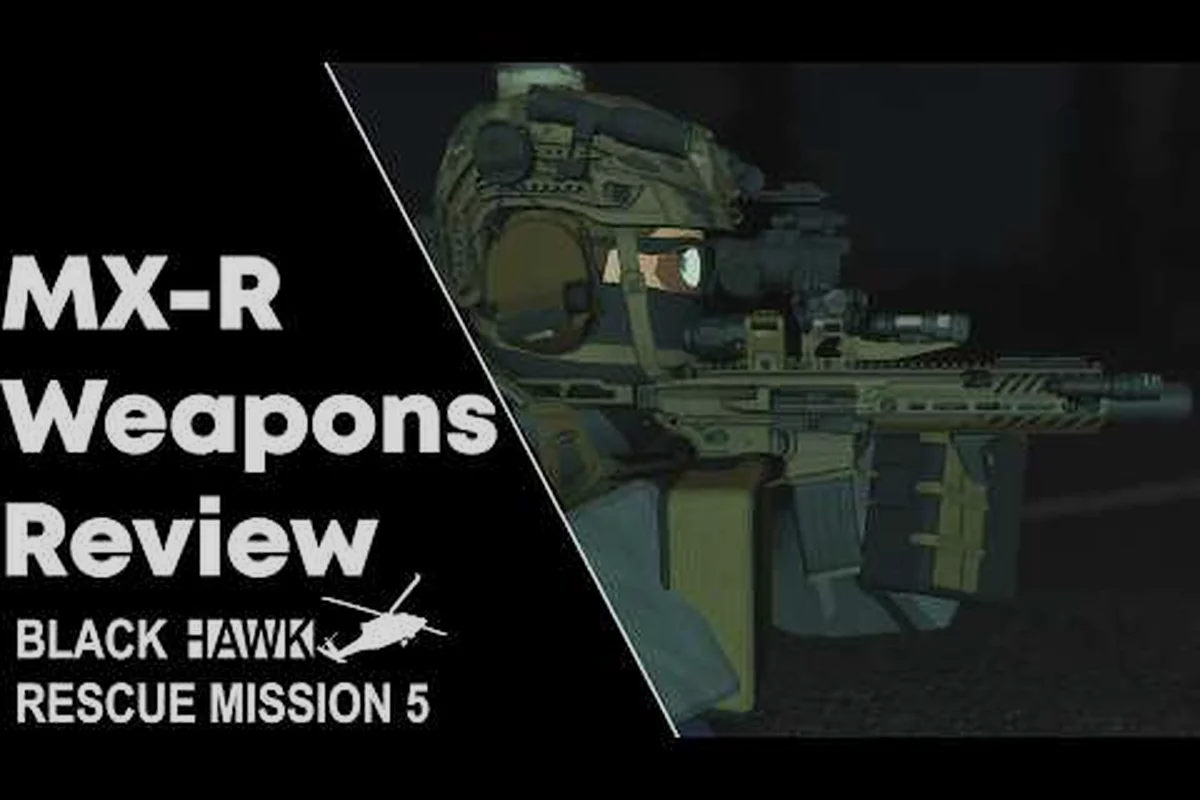
Designated marksman rifles sit in the awkward middle of any Blackhawk Rescue Mission 5 loadout: they out-range every SMG, out-trade most carbines in the hands of a calm shooter, and still feel weak next to a belt-fed LMG in a sustained firefight. This brm5 DMR guide breaks down where a marksman rifle actually wins, which platforms dominate the class after the recent balance pass, and how to kit each one so the recoil pattern and muzzle velocity stop working against you.
Mid-range engagements — roughly 60 to 150 meters — are where DMRs earn their slot. Push them into SMG range and you lose the bullet velocity advantage; stretch them past 200 meters against a competent sniper and the dropoff starts showing. Treat the DMR as a role-bridging weapon, not a budget sniper, and the whole class starts making sense.
Community threads on r/BlackhawkRescue treat the DMR slot as a close cousin to the L85, FAL, and M4A1 family of mid-range primaries — players tend to swap between them based on mission pacing rather than locking into one platform. That decision tree is exactly what this guide maps out.
For community-tested answers, the discussion thread below is the most detailed source: the r/BlackhawkRescue weapons and attachments list thread covering brm5-dmr-guide.
What Counts as a DMR in BRM5
A DMR in Blackhawk Rescue Mission 5 is defined by three attributes working together: a semi-auto fire mode as the default, a 7.62-class or 6.5mm intermediate cartridge, and attachable optics rails that support mid-magnification scopes. The class is intentionally narrower than "any semi-auto rifle," because a true DMR is meant to be effective at 80-150 meters without forcing the operator to leave the fireteam for a true sniper perch.
DMR vs. Battle Rifle vs. Sniper
The class boundaries get blurry fast, so it helps to anchor each tier to a role.
| Class | Effective Range | Fire Mode | Magazine | Typical Operator |
|---|---|---|---|---|
| DMR | 60-150 m | Semi-auto | 10-20 rounds | Squad's mid-range anchor |
| Battle Rifle | 30-90 m | Selective-fire | 20-30 rounds | Aggressive entry role |
| Sniper Rifle | 150-400 m | Bolt or semi | 5-10 rounds | Overwatch / counter-sniper |
A DMR sacrifices the magazine capacity of a true battle rifle and the per-shot energy of a sniper, but gains maneuverability: you can move between cover, reposition between angles, and still punish a target stepping out at 120 meters. That trade-off only works if the operator treats the DMR as a precision tool and respects the bolt-cycle delay between shots.
Where the DMR Slot Fits in the Squad
In a four-man cell, the DMR operator usually pairs with an LMG gunner, an SMG entry player, and a support rifleman. The DMR handles mid-range transitions that fall outside the LMG's effective arc and beyond the SMG's flat-trajectory window. Without a DMR in the line, the squad either collapses range brackets (everyone fights at the same distance) or leaves the 80-150 meter band undefended — a gap that AI squads and human players exploit constantly.
BRM5 DMR Tier List and Pick Recommendations
This tier list ranks DMRs by real-world performance across co-op and PvP scenarios. It reflects community reports and the post-balance state of the weapons as of late 2026, though exact values may shift with future patches.
| Rank | DMR Platform | Strength | Weakness | Best For |
|---|---|---|---|---|
| S | FAL Platform (7.62) | Hardest single tap in class | Steep recoil on rapid follow-up | Anchor mid-range duels |
| A | M14-style Platform | Fast follow-up, high velocity | Higher muzzle flash | Squad-based precision |
| B | SR-25 / AR-10 Pattern | Stable rail, easy optics | Lower per-shot damage | Long mid-range holds |
| B | Mk 14 EBR Variant | Hybrid DMR / close | Heavy weight | Aggressive mid-range |
| C | SCAR-H PR Variant | Modern ergonomics | Limited unlock path | Early-game DMR practice |
Why the FAL Sits at the Top
The FAL platform — and its tuned G1 DMR variant in particular — earns the top slot because its per-shot energy is the highest in the DMR bracket, and the 7.62 cartridge keeps damage consistent at ranges where 5.56 DMRs start dropping. According to community testing, the FAL can still threaten a one-tap torso elimination out to roughly 100 meters when chambered with the heavier grain loads, which is a threshold the smaller cartridge platforms simply cannot match.
The trade-off is recoil recovery. The FAL's muzzle climb on the second and third shot is genuinely punishing, so the operator has to commit to a true one-tap discipline rather than leaning on the gun for follow-up. Players who try to spam the FAL like a battle rifle report consistent misses past 50 meters — and that's the entire reason the gun ends up either loved or abandoned depending on operator temperament.
When to Pick a Lower-Tier DMR
The B and C tier picks are not "bad guns" — they are specialized DMRs. The SR-25 pattern is a friendlier learning platform with a softer recoil arc, which makes it the right DMR for a player who hasn't built muscle memory yet. The SCAR-H PR variant is a solid early-game DMR that doesn't require a high-tier unlock path, so it works as a stepping stone before committing to a S or A platform. Picking a lower-tier DMR on purpose — to learn the role, to fit a tight loadout budget, or to match a specific mission's engagement profile — is a smarter play than forcing a top-tier platform you can't kit out properly.
Best Attachments and Recoil Tuning
A DMR is only as good as its attachment stack, and in BRM5 the order you unlock attachments matters as much as the attachments themselves. A poorly tuned DMR fights the operator on every shot; a well-tuned one feels almost like a low-power sniper.
Attachment Priorities by Slot
| Slot | First Choice | Second Choice | Effect |
|---|---|---|---|
| Optic | Variable 1-6x | 4x fixed | Mid-magnification for 80-150 m |
| Muzzle | Compensator (recoil) | Flash hider | Tames vertical climb |
| Grip | Vertical foregrip | Stubby | Stabilizes first-shot placement |
| Stock | Adjustable precision | Fixed magpul | Reduces sway when aiming |
| Ammo | Heavy grain | Match grade | Higher velocity, flatter drop |
Reading the Recoil Pattern
Each DMR has a signature recoil arc that you can read on the firing range in under 30 seconds. The FAL climbs hard on the second shot and then settles; the M14-style platform pulls left and slightly up; the SR-25 pattern is the flattest of the three, with only a mild vertical wobble. Knowing the arc before the first live engagement is the difference between landing the second shot at 100 meters and spraying into the dirt.
A useful drill is to fire five-round strings at a 75-meter target with no attachments, then with each new attachment added. The moment the pattern starts breaking in two directions at once, you've over-modified the platform and the gun is actually less predictable than stock. The keep-it-simple principle applies more to DMRs than to any other class because precision tools reward consistency over peak performance.
Optics, Magnification, and Holdover
The variable 1-6x scope is the workhorse optic for DMR operators because it lets you stay at 1x for CQB defense and crank to 6x when a target appears at the back of the engagement envelope. The trade-off is a slightly busier reticle than a fixed 4x, but the flexibility is worth it for an operator who doesn't have a dedicated sniper on the squad.
Holdover — the practice of aiming above the target to compensate for bullet drop — is essential past 120 meters. Community testing puts the Mk 14 EBR's holdover at roughly 2 mils at 150 meters with heavy grain ammo, while the FAL's higher-velocity loading brings that down to about 1.5 mils. These numbers shift with barrel length and ammo choice, so the firing range is the only reliable calibration tool.
How DMRs Compare to SMGs, LMGs, and Pistols
DMRs do not exist in a vacuum — they share the operator's loadout with brm5 smg picks, brm5 best lmg anchors, and sidearm brm5 pistols that cover the gaps the primary cannot. Understanding the full kit makes the DMR choice easier, because the DMR is only as good as the secondary weapons flanking it.
Range Coverage Matrix
| Range Band | Best DMR Choice | SMG Alt | LMG Alt | Pistol Alt |
|---|---|---|---|---|
| 0-30 m | DMR (backup role) | brm5 best smg | LMG (suppressive) | brm5 pistols |
| 30-80 m | All DMRs viable | SMG (close push) | LMG (anchor) | Pistol (panic) |
| 80-150 m | DMR primary band | SMG (outclassed) | LMG (suppressive, slow) | Pistol (outclassed) |
| 150-250 m | DMR (extended) | SMG (useless) | LMG (effective) | Pistol (useless) |
Pairing a DMR with an SMG
The cleanest mid-range kit is a DMR primary plus a brm5 best smg secondary, because the SMG covers the 0-30 meter band where the DMR is genuinely weak. The SMG is the panic-and-push tool; the DMR is the discipline-and-angle tool. According to a community weapons overview, players who carry only a DMR into tight corridors tend to over-rotate to the pistol slot and lose firefights they should have won with a properly kitted secondary.
A practical pairing: FAL DMR primary for 80-150 meter holds, paired with a high-cycle-rate SMG for interior clearing. The SMG's flat trajectory handles hallway engagements where the FAL's muzzle climb would betray the operator. The DMR handles the alleyways, windows, and mid-range open stretches where the SMG's damage drop-off starts hurting.
Pairing a DMR with an LMG
A DMR plus an LMG is a suppression-and-precision loadout: the LMG lays down a fire blanket that pins targets behind cover, and the DMR picks them off when they try to displace. The LMG's weight and slow ADS time make it useless in close quarters, which is why a sidearm is the natural complement rather than another primary. For the full breakdown of squad-level weapon synergy, the brm5 best gun tier list covers how the major platforms interact across the entire weapon tree.
Pairing a DMR with a Pistol
A pistol sidearm is the brm5 pistols slot that most DMR operators default to, and for good reason: the pistol fills the under-20-meter gap without forcing the operator to carry a second long gun. The strongest pistol picks for DMR pairs are the compact 9mm platforms with high magazine capacity, because they let the operator reload quickly during the brief windows when an enemy closes the distance. Pairing a heavy DMR with a slow-reloading .45 pistol is a known mistake — the weight and reload penalty stack, and the operator ends up worse in close quarters than someone running an SMG sidearm.
DMR Playstyle and Engagement Rules
Kitting the DMR correctly is half the battle; the other half is knowing when to take the shot, when to hold the angle, and when to fall back to the sidearm. The DMR is a thinking tool, not a reflex tool, and the operators who get the most out of the class tend to play a slower, more deliberate game than SMG and LMG users.
The 3-Shot Discipline Rule
The single biggest mistake DMR operators make is firing the third shot. The first shot is a precision tap; the second shot is a controlled follow-up; the third shot is almost always a panic spray that misses and reveals the operator's position. The 3-Shot Discipline rule is simple: if the first two shots don't land, drop off the angle, reposition, and reset the engagement rather than dumping the magazine.
Angle Selection and Positioning
DMR operators should pick angled, off-axis positions rather than head-on sightlines. A 30-degree off-axis angle forces the enemy to read your position from a distorted silhouette, which buys an extra half-second of confusion — enough time to land a clean first shot. Head-on angles reward the SMG user with faster ADS and flatter trajectory; off-axis angles reward the DMR user with the time to set up the precision shot.
When to Switch to Sidearm
The transition from DMR to pistol happens at roughly 20 meters or less, and the trigger is the enemy's acceleration toward you. If the target is sprinting, sliding, or actively closing distance, the DMR's follow-up cadence is too slow to win the duel. The pistol is faster, lighter, and more forgiving in close quarters — so the switch should be deliberate rather than reactive. Players who try to stay on the DMR in close quarters and "just shoot faster" consistently lose the duel to a player who swapped to the sidearm two seconds earlier.
Common DMR Mistakes
| Mistake | Why It Fails | Fix |
|---|---|---|
| Treating DMR like a sniper | Over-rotation, slow repositions | Stay inside the squad, not above it |
| Spraying past 50 meters | Recoil arc breaks | Two shots, reposition, repeat |
| Skipping muzzle device | Vertical climb dominates | Compensator first, always |
| Pairing with slow pistol | Close-quarters disadvantage | High-cap 9mm or compact .45 |
| Ignoring holdover | Misses at 120+ meters | Test 2 mils and adjust |
Frequently Asked Questions
What is the best DMR in BRM5 right now?
The FAL platform sits at the top of the brm5 dmr guide tier list because its 7.62 cartridge keeps damage consistent out to roughly 100 meters, where smaller-caliber DMRs start dropping off. The trade-off is a steep recoil arc on the second shot, which is why the FAL rewards calm, one-tap operators over spray-and-pray users. For a friendlier learning platform, the SR-25 pattern is a strong second pick.
How does a DMR compare to a battle rifle in the same slot?
A DMR is built for 80-150 meter precision, while a battle rifle is built for 30-90 meter aggression with selective fire. Battle rifles carry larger magazines and faster follow-up shots, but they lose per-shot energy at range and can't punch through cover the way a 7.62 DMR can. Picking between them comes down to mission pacing: close urban maps favor battle rifles, open mid-range maps favor DMRs.
Should I pair a DMR with an SMG or an LMG secondary?
A DMR plus a brm5 best smg secondary is the most flexible mid-range kit, because the SMG covers the 0-30 meter band where the DMR is weakest. A DMR plus an LMG is a suppression-and-precision loadout that works for squad-based anchors but leaves you slow in close quarters. If you only have one secondary slot, the SMG is the safer pick for solo play and the LMG is the better pick for coordinated four-man cells.
Does a DMR work in PvP, or is it only for co-op?
A DMR is genuinely strong in PvP because mid-range duels are the most common engagement type, and the DMR's per-shot damage punishes mistakes harder than an SMG's spray. The key is angle selection: off-axis positions let the DMR operator set up a clean first shot, while head-on angles favor the SMG's faster ADS. The brm5 best pvp gun breakdown covers how the DMR class slots into the wider PvP meta, including which attachments translate best from co-op to competitive play.
What ammo type should I use for the longest effective range?
Heavy grain loads are the right pick for the longest effective DMR range, because they raise muzzle velocity and flatten the bullet's drop arc. The trade-off is slightly higher recoil, which is why a compensator muzzle device becomes even more important. For most 80-120 meter engagements, match grade ammo is a strong middle-ground pick that balances velocity and recoil without forcing a full re-tuning of the platform.
Closing note: the DMR is a role, not a weapon. Pick the platform that matches your engagement profile, kit it with the minimum attachments needed to flatten the recoil arc, and run it with a sidearm or SMG that covers the close-range gap. The operators who treat the DMR as a precision tool — rather than a budget sniper or a long-range battle rifle — are the ones who consistently win the mid-range duels that decide most BRM5 missions.