
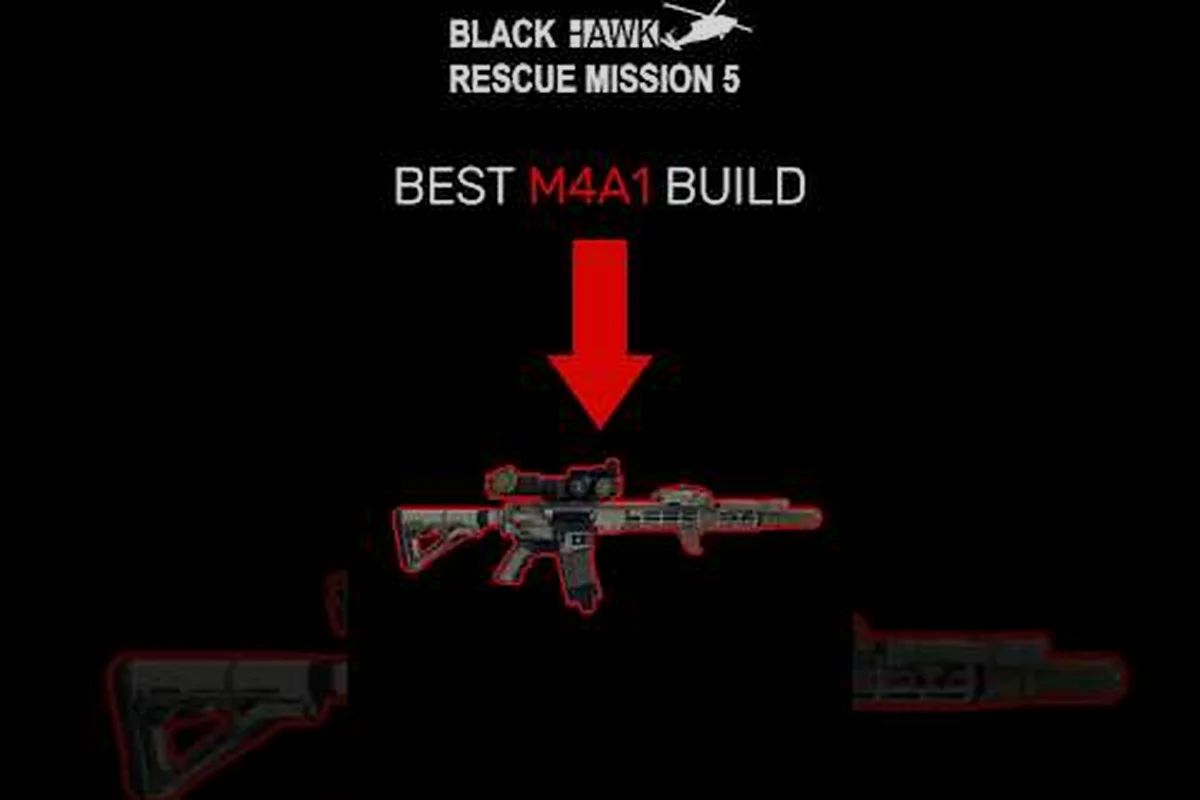
A solid MK18 setup in Blackhawk Rescue Mission 5 turns a short-barreled 5.56 carbine into a close-quarters monster without sacrificing mid-range reach. The platform is modular, the recoil is forgiving, and the parts are accessible from the early unlock tier if you know which path to push. This guide breaks down the attachments, the supporting body armor, and the helmet pairings that complete the loadout so the rifle earns its reputation in both raid and defense scenarios.
For community-tested answers, the discussion thread below is the most detailed source: the r/BlackhawkRescue community threads about brm5-mk18-build.
Why the MK18 Earns a Slot in Your Armory
The MK18 sits in a tight design space between the M4A1 carbine and the L85, and that middle ground is exactly what makes the weapon feel right for aggressive breach teams. Barrel length stays compact, so the rifle swings fast through doorways and across vehicle interiors where longer carbines catch on door frames and slow your sight picture. The 5.56 chambering also means the platform shares ammunition with the L85, which simplifies logistics on long operations when you cannot afford to bring two calibers back to the armory bench.
Community data from the r/BlackhawkRescue subreddit threads on weapons and attachments shows the MK18 mentioned alongside the FAL, AK74, and M4A1 as the four most-configured primary rifles, with the short carbine winning praise for its balance of fire rate and recoil control. Players comparing it to the L85 note that the MK18 sacrifices a small amount of raw damage per round in exchange for a noticeably faster handling profile, which is a worthwhile trade in tight maps where target acquisition speed matters more than per-shot alpha damage.
The other practical reason the MK18 is a strong anchor for a loadout is the attachment ecosystem. Almost every rail-mounted accessory in the game — from red dots and holographic sights to foregrips, flashlights, and laser modules — fits the platform without an adapter penalty. That means you can swap a sight for night operations or add a PEQ box for low-light raids without rebuilding the whole weapon. The build path below takes advantage of that flexibility and keeps every slot doing real work.
Role of the MK18 in a Squad
A squad usually has one designated entry-fragger, and the MK18 fits that role better than almost any other 5.56 platform. The compact frame lets the operator clear rooms without the muzzle snagging on the next doorway, and the controllable recoil means follow-up shots land on a hostile wearing mid-tier body armor before they can finish their turn. When the squad leader calls for a switch to a designated marksman role, the operator can swap the optic and move to a longer sight without leaving the rifle, because the rail geometry accepts both close-quarters and magnified optics.
Players running the brm5 best loadout approach often slot the MK18 as the primary and pair it with a sidearm or a short-barreled shotgun for hallway transitions. That pairing covers the two failure modes a single rifle cannot handle — extremely close engagements where the rifle stock feels long, and threats that slip past the entry point. Keeping the MK18 as the central piece means the rest of the build orbits a proven anchor rather than a niche toy.
Core Attachments That Define the Build
The attachment list below is the loadout the community has converged on after several patches, and every slot is chosen for a specific reason. Swap a part only when the operation genuinely demands a different tool, because each piece below was selected to keep recoil, sight picture, and handling in a single balanced profile.
| Slot | Recommended Part | Reason |
|---|---|---|
| Optic | Aimpoint-style red dot with magnifier | Fast close-quarters sight, magnifier handles 50–80 m threats |
| Grip | Vertical foregrip | Pulls recoil straight down, helps the 5.56 stay on target |
| Muzzle | Compensator | Redirects gas upward, tames the second-shot climb |
| Light | Weapon-mounted flashlight or PEQ | Illuminates dark rooms during breach entries |
| Rail panel | Laser module (toggled) | Tightens hip-fire spread during blind corner checks |
The optic choice is the single most important decision. A red dot with a flip-to-side magnifier keeps the close-quarters sight ready by default and gives you a magnified option for the longer sightlines you will inevitably cross on a mixed map. Players who try to use a magnified optic as the primary sight regret it during indoor raids, because the eye relief and narrow field of view slow target acquisition on close threats. Save the magnifier for transitions across open courtyards and vehicle parks, then flip it back when the next door opens.
The vertical foregrip paired with a compensator is the recoil-handling combination that makes the MK18 controllable. The compensator redirects muzzle gas upward so the second shot in a burst climbs less, and the foregrip keeps your support hand anchored so the muzzle does not drift left or right during sustained fire. According to community testing in BRM5 Best Primary Weapon, the vertical foregrip is preferred over angled or stubby grips for short-barreled 5.56 rifles because the added backpressure control outweighs the marginal loss in switch speed.
Optional Attachments and When to Use Them
A laser module, a suppressor, and an extended magazine are the three most common swaps you will make. The laser module is a strong pick for night operations where you might have to fire from the hip around a corner you cannot fully clear, but the visible dot also gives away your position to observant players, so the community habit is to keep it off by default and toggle it only for tight rooms. A suppressor is worth slotting when you are running a stealth raid and you need to avoid alerting a wider patrol ring, although the trade-off is a quieter report at the cost of slightly higher per-shot recoil because the compensator no longer vents as cleanly.
The extended magazine is a debate that never quite resolves, because the standard 30-round magazine is already comfortable for most engagements and the extended 40- or 45-round magazine adds weight that affects handling. The community consensus is to keep the standard magazine for solo or two-man operations and switch to the extended magazine only when the squad is bracing for a long defense on a fixed position with multiple breach points. For the best loadout companion guide the default 30-round mag is the right call nine times out of ten.
Matching Body Armor for the MK18 Operator
Body armor in Blackhawk Rescue Mission 5 is not a single piece — it is a layered system of plate carrier, plates, and soft armor inserts, and the choices you make in each layer determine how many rounds you can take before a hostile drops you. The MK18 is a fast, mobile platform, so the armor should not bog the operator down with extra weight that defeats the purpose of carrying a short carbine in the first place.
| Armor Layer | Recommended Pick | Why It Matters |
|---|---|---|
| Plate carrier | Light plate carrier with MOLLE webbing | Keeps mobility high, allows side pouch attachments |
| Plates | Ceramic or composite Level III plates | Stops 5.56 and 7.62x39 at typical engagement ranges |
| Soft armor insert | Ballistic panel for the carrier front and back | Catches spall and fragments from stopped rounds |
| Side plates | Optional Level III+ side plates | Adds flank protection for prolonged firefights |
Ceramic or composite plates are the standard for a 5.56-centric build, because the rifle round the MK18 fires and the rounds fired at you are usually the same caliber. Level III plates stop 5.56 ball and most 7.62x39 threats at typical engagement distances, and the weight stays manageable when paired with a light carrier. Steel plates are tempting because of the price, but the extra weight reduces the mobility advantage that makes the MK18 feel right in the first place, and the spalling risk on near-miss rounds means the trade-off rarely pays off.
The community resource threads on armor and helmet picks note that mid-tier plate carriers are the most popular pick for players who run the MK18, because the MOLLE webbing lets you bolt on extra magazine pouches and a small radio pouch without forcing a swap to a heavier carrier. Players running heavier armor usually compensate by switching to the FAL or a designated marksman rifle, which is why the brm5 fal build and the MK18 build rarely share the same carrier.
Layered Defense and Plate Behavior
Armor in BRM5 does not function as a simple damage sponge. Plates absorb the first round or two in a burst and degrade the impact before the soft armor insert catches the residual force, which is why a single plate-quality hit is survivable and a sustained burst against the same plate zone is not. Ceramic plates are effective against the first few impacts and then crack, after which the soft insert carries the rest of the fight, while composite plates spread the energy across a wider area and keep working across more hits at the cost of slightly more weight.
Players who treat armor as a layered system — front plate, side plate option, soft insert, helmet — survive engagements that flat-plate builds do not. The brm5 armor guide approach is to spend on plate quality first, then on the carrier, because a heavy carrier with cheap plates fails faster than a light carrier with good plates. The MK18 operator benefits from this layering because the mobility stays high and the protection is concentrated where incoming fire is most likely to land.
Helmet Choices That Complete the Loadout
The helmet is the most underestimated piece of the kit, because a single headshot drops an operator regardless of body armor condition. Choosing the right helmet and the right accessories — night vision mount, headset, ballistic visor — turns the loadout from a gun-plus-armor setup into a full combat system. The MK18 operator is usually in the first wave of a breach, which means the helmet has to handle close-quarters shrapnel, suppress the sound of incoming fire, and provide night vision when the operation moves into a dark interior.
| Helmet Class | Best Use Case | Compatible Accessories |
|---|---|---|
| Light bump helmet | Fast raids, low expected resistance | Headset, basic mount |
| Mid-cut ballistic helmet | Standard breach operations, mixed lighting | NVG mount, headset, side rail accessories |
| Full-cut ballistic helmet | High-threat raids, expected return fire | NVG mount, visor, headset, rail panels |
| High-cut helmet with mandible | Designated threat lanes, sniper-heavy maps | NVG mount, mandible guard, comms headset |
The mid-cut ballistic helmet is the workhorse pick for the MK18 build, because it offers Level IIIA protection against shrapnel and pistol-caliber threats while still accepting a night vision mount and a communications headset. Full-cut helmets protect more of the head and accept a visor, but the extra weight and the wider profile make the operator feel sluggish during tight corner checks, which defeats the purpose of pairing a short-barreled carbine with aggressive movement.
Players who run night raids and dark-interior scenarios should prioritize a helmet that accepts the binocular or monocular night vision device, because NVG-equipped operators see threats two rooms ahead of unaided ones. The trade-off is battery weight and the slight reduction in peripheral vision, but the awareness gain is significant on maps with multiple corridors. The brm5 helmets resource thread covers the full range of helmet options and the accessory slots that are worth unlocking early.
Matching the Helmet to the Mission
Not every mission needs a full NVG setup, and not every mission benefits from a visor. The right approach is to keep a mid-cut helmet as the default and swap the accessories based on the briefing. For daylight raids on low-resistance compounds, the lighter bump helmet is enough and saves weight for extra ammunition. For night raids on fortified positions, the mid-cut with NVG mount and headset is the better call. For high-threat defense of a fixed position, the full-cut helmet with visor and comms headset handles the worst-case incoming fire.
The brm5 best armor pairing for a MK18 operator is therefore the mid-cut helmet, the light plate carrier, ceramic plates, soft inserts, and the rifle attachments listed above. That combination has been the community standard across multiple patches because it balances mobility, protection, and modularity without forcing the operator into a single-role pigeonhole.
Tuning the Loadout for Specific Operations
The base build above is the default configuration, but the same parts and the same plate carrier can be tuned for very different operations by swapping one or two pieces. The community has converged on three broad operational profiles — close-quarters breach, mid-range overwatch, and night stealth — and each one shifts the loadout without breaking the anchor role of the MK18.
| Operation Type | Key Swaps | Reason |
|---|---|---|
| CQB breach | Add laser module, keep red dot | Hip-fire and corner checks dominate |
| Mid-range overwatch | Add magnifier, swap foregrip for bipod | Stabilize the rifle for longer bursts |
| Night stealth | Add suppressor, NVG on helmet, toggle laser | Avoid patrol alerting, see in dark zones |
| Vehicle escort | Add extended magazine, keep compensator | Sustained fire from a moving platform |
The CQB breach profile is the natural fit for the MK18, because the short barrel and the red-dot optic are already optimized for fast target acquisition. The only swap that consistently helps is enabling the laser module for the tightest rooms, then turning it off when the squad transitions to a longer corridor. The mid-range overwatch profile is a less natural fit, but the magnifier and a bipod let the operator hold a longer sightline from a covered position without rebuilding the rifle from scratch.
The night stealth profile is the one that benefits most from the suppressor swap, because the noise reduction prevents an early alert from cascading into a wider patrol response. The night vision goggles mounted on the mid-cut helmet give the operator the awareness to spot a sentry before the sentry spots the squad, which is the entire point of a stealth approach. The brm5 loadout examples resource thread covers additional role swaps and the trade-offs that come with each.
Ammunition Choices and Caliber Considerations
The MK18 fires 5.56, which means the operator shares ammunition logistics with the L85, and the supply situation is one of the strongest arguments for the platform. A squad running a mixed rifle roster can pool 5.56 stockpiles at the headquarters armory and pull from a shared reserve, which reduces the per-operation resupply cost compared to a squad running mixed calibers like the FAL's 7.62 and the AK74's 7.62x39.
Ammunition type matters as well. Standard ball ammunition is the default and is correct for most engagements, but soft-point or hollow-point rounds trade a small amount of penetration for an increase in stopping power against unarmored targets. Armor-piercing rounds trade stopping power for plate-penetration, which is rarely useful when you are firing at opponents wearing the same plate carrier you are. The community habit is to keep ball as the default and only swap when the briefing specifically calls for a particular target profile.
Frequently Asked Questions
Is the MK18 a good starter rifle for new players in Blackhawk Rescue Mission 5?
Yes, the MK18 is a strong starter because the recoil is forgiving, the 5.56 caliber is shared with the L85 for easier logistics, and the attachment ecosystem accepts every rail-mounted accessory without an adapter penalty. New players can run the base configuration from the early unlock tier and stay competitive while learning the map flow.
What body armor level should I pair with the MK18 build?
Level III ceramic or composite plates in a light plate carrier with a soft armor insert is the recommended pairing. This combination stops 5.56 and most 7.62x39 threats at typical engagement ranges while keeping the mobility high enough to use the short barrel the way it is designed to be used.
Should I use a suppressor or a compensator on the MK18?
Use the compensator for the default loadout and switch to the suppressor only for stealth raids where a quieter report is more important than a small recoil penalty. The compensator tames the second-shot climb and keeps the rifle controllable during sustained fire, which is the trade-off you want in most engagements.
What helmet works best with the MK18 close-quarters setup?
The mid-cut ballistic helmet with a night vision mount and a communications headset is the best default because it offers Level IIIA protection, accepts NVGs, and keeps the weight low enough for fast corner checks. Swap to a full-cut helmet with a visor for high-threat positions and to a bump helmet for fast daylight raids.
How does the MK18 compare to the FAL for the same role?
The MK18 is faster-handling and has a softer recoil profile, while the FAL hits harder per round and reaches farther. Choose the MK18 for aggressive breach operations and the FAL for designated marksman and overwatch roles where the extra per-shot damage outweighs the slower handling.