
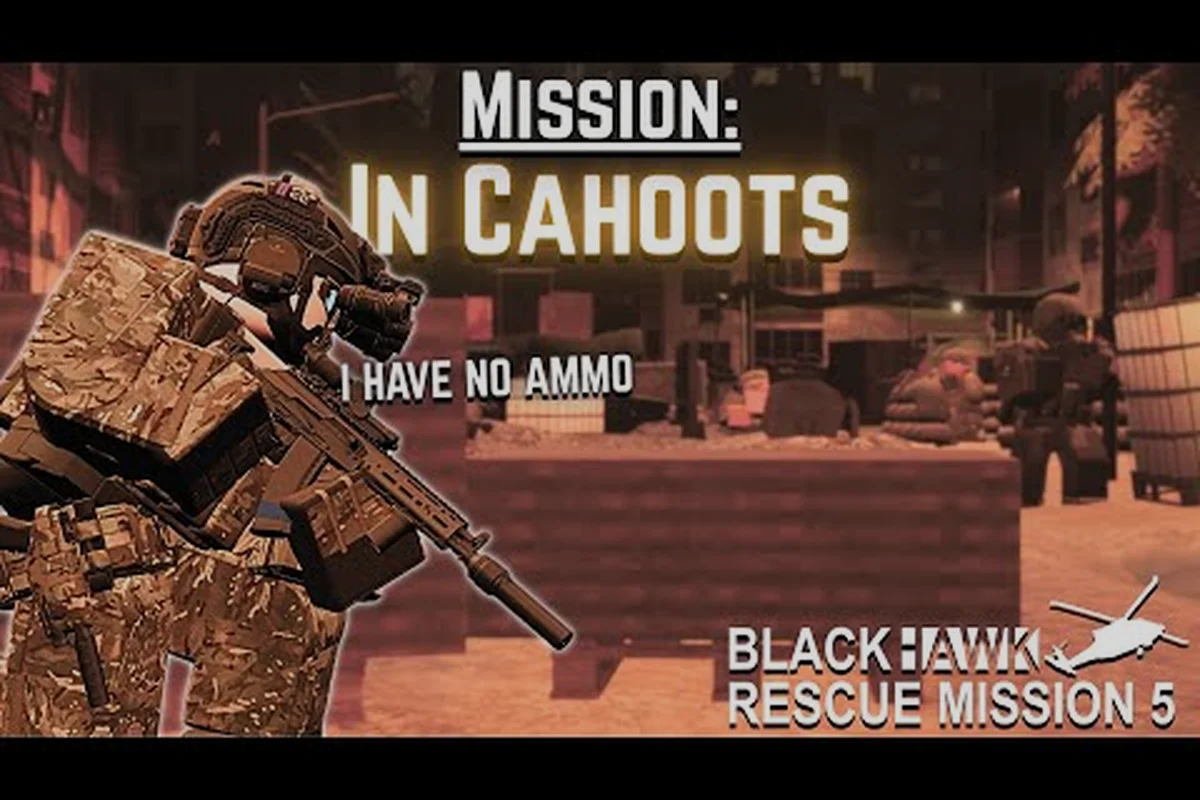
The Ronograd open world in Blackhawk Rescue Mission 5 hides more than it shows, and most operators walk through their first dozen raids without noticing the basements, side-alleys, and rooftop paths that quietly make the difference between a dry sweep and a fully stocked exfil. This guide pulls together the best brm5 ronograd secrets that experienced squads lean on: concealed loot rooms, off-grid objective locations, shortcut alleys, and patrol traps that punish unprepared teams. Consider this a working map strategy file you can return to each time a new operation drops on the Ronograd open world.
For the authoritative reference, the official Roblox page keeps the complete details: the official Blackhawk Rescue Mission 5 Roblox page for brm5-ronograd-secrets.
What Makes the Ronograd Open World Different
Ronograd is the largest of the default BRM5 maps, and it leans hard on layered urban terrain. Streets wrap around residential blocks, industrial yards butt up against apartment towers, and a network of backalleys, rooftops, and underground passages stitches everything together. Unlike the smaller Sawang and Ghazni maps, Ronograd rewards route planning over raw firepower, which is why a solid brm5 map strategy starts with knowing which parts of the city to skip on a given raid.
The city is roughly divided into four loose zones. New players often assume the Central Market is the most valuable, but community testing consistently shows the Northern Industrial Yard and the Eastern Dockside actually carry higher-tier loot density per minute of risk. A reliable brm5 map for beginners approach is therefore to memorize one outer zone first, then layer in the center once your squad's cohesion is strong.
| Zone | Approx. Footprint | Loot Tier | Patrol Density | Beginner Friendly |
|---|---|---|---|---|
| Central Market | Medium | Mid | High | No |
| Northern Industrial Yard | Large | High | Medium | Yes |
| Eastern Dockside | Medium | High | Medium | Yes |
| Southern Residential | Large | Low–Mid | Low | Yes |
Operators who treat Ronograd as a flat open world tend to bounce between the same two POIs and miss the brm5 ronograd secrets sitting in the seams. The real value is in the vertical layers and the half-flooded basement corridors that most squads sprint past on the way to the next objective marker.
Map Size and Layout in Context
For players comparing brm5 map size comparison data, Ronograd is the flagship open world. It is roughly three to four times the playable footprint of the Kingdom of Sawang and noticeably larger than the community-built RGE maps like Ghazni. The trade-off is density: each square meter of Ronograd holds fewer guaranteed loot spawns than the tighter maps, but the variety per raid is much higher.
| Map | Playable Footprint | Loot Density | Best For |
|---|---|---|---|
| Ronograd Open World | Very Large | Medium | Long raids, stealth chains |
| Kingdom of Sawang | Medium | High | Fast XP, CQB loadouts |
| Ghazni (RGE) | Medium | High | Squad-vs-squad fights |
| Ronograd City | Medium-Large | Medium-High | Mixed urban combat |
That footprint matters for a brm5 map strategy because route times dominate. A team that picks objectives in opposite corners will spend most of the raid traversing empty streets, while a team that picks a tight cluster of three POIs can clear everything in roughly half the time. The size also means a brm5 map for beginners plan should explicitly limit objectives to one zone for the first month of play.
Hidden Rooms, Off-Grid Objectives, and Map Secrets
This is the core of the guide: a structured brm5 map locations list of the most useful secrets, including the off-grid objective locations most operators walk past. Each entry includes where to look, what the room actually contains, and which team composition benefits most.
According to the official Blackhawk Rescue Mission 5 page on Roblox, BRM5 Ronograd Secrets players can uncover hidden intel caches scattered across the Ronograd map by completing secondary objectives during rescue missions.
Northern Industrial Yard Secrets
The yard is the cleanest entry point for squads learning brm5 objective locations because the geometry is forgiving and the loot payoff is high. Three rooms in particular are worth memorizing.
-
Warehouse B Sub-Basement — a stairwell behind the blue shipping container leads to a half-flooded basement with a guaranteed weapon crate and a med bag spawn. The door is scripted to look like a wall prop, so first-time operators often pass within five meters without seeing it.
-
Foreman's Office Lockbox — the locked drawer on the second floor of the Foreman's office often contains a high-tier optic or attachment. Players who run a stealth loadout can pick the lock silently; loud teams should clear the surrounding patrol first.
-
Yard Generator Room — a side entrance behind the diesel tanks hides a small loot room that is frequently skipped because the entrance is partially hidden by a parked truck.
| Secret | Location Cue | Loot | Risk |
|---|---|---|---|
| Warehouse B Sub-Basement | Blue container, false wall | Weapon crate + meds | Medium (flooded, tight) |
| Foreman's Office Lockbox | Second floor, wooden desk | Optic / attachment | Low–Medium |
| Yard Generator Room | Behind diesel tanks, near truck | Mixed small loot | Low |
| Overpass Sniper Nest | Catwalk above the loading bay | Long-range sight + ammo | Medium (exposed) |
A practical brm5 map strategy for this zone is to push the warehouse first, sweep the office second, and only then move toward the center of the yard. The generator room is best looted on the way out, since its entrance is easy to miss on a fast approach.
Eastern Dockside Secrets
The docks reward vertical movement. Most operators hug the waterline and ignore the catwalks above the cranes, which is where some of the cleanest brm5 ronograd secrets live. A squad that learns the dock catwalk layout can clear the entire eastern flank without ever touching the street level, which avoids nearly all of the patrol traffic.
-
Crane Cab Cache — the operator's cab on the second crane holds a small but reliable loot box. The ladder is exposed, so a two-person team is ideal: one climbs, one overwatches.
-
Drainage Tunnel Junction — a covered grate behind the fish market drops into a tunnel that connects to a hidden storeroom under the customs office. This is one of the cleanest off-grid objective locations because the tunnel itself is outside the normal patrol path.
-
Cold Storage Rear Exit — a side door on the cold storage building leads to a short alley that most players assume is blocked by rubble. The rubble is passable on foot and connects the docks directly to the residential zone.
| Secret | Location Cue | Loot | Best Squad Type |
|---|---|---|---|
| Crane Cab Cache | Second crane, ladder up | Small loot box | 2-man recon |
| Drainage Tunnel Junction | Grate behind fish market | Storeroom cache | Full squad |
| Cold Storage Rear Exit | East wall, rubble gap | Route shortcut | Any |
| Dockmaster's Loft | Above customs office | Key + documents | Intel-focused squad |
The Drainage Tunnel Junction in particular is one of the highest-value brm5 ronograd secrets because it functions as both a loot source and a route shortcut. A squad that controls the grate controls the only safe path between the docks and the residential zone, which makes it excellent for ambushes on opposing teams.
Southern Residential Secrets
The southern zone is the quietest part of Ronograd, and that is exactly why a deliberate brm5 map strategy should reserve it for the late sweep. By the time most squads arrive, the patrols have thinned out and the loot is essentially uncontested. The residential block hides a few rooms that look like decoration but are interactable.
-
Apartment 3B Storage Closet — the back of apartment 3B has a closet that opens into a crawlspace connecting to the next building. Useful for repositioning without breaking line of sight on the street.
-
Rooftop Greenhouse — a glass-paneled greenhouse on the roof of the corner building hides a small loot spawn. The ladder is on the opposite side of the building from the main entrance, which keeps it off most players' mental map.
-
Cellar Network Under Block C — a long basement that links several apartment buildings. Most operators assume the doors are locked, but the westernmost one can be opened with a basic pick.
| Secret | Location Cue | Loot | Approach Tip |
|---|---|---|---|
| Apartment 3B Storage Closet | Back wall, 3B | Crawlspace access | Use for flank routes |
| Rooftop Greenhouse | Corner building, rear ladder | Small loot spawn | Approach from alley |
| Cellar Network Block C | West side door | Linked basement | Pick the lock quietly |
| Backyard Shed Cache | Garden behind Block A | Meds + ammo | Last on the rotation |
A solid brm5 map for beginners rotation through the residential zone is A → C → rooftop, because the rooftop greenhouse works best as a clean-up objective once the surrounding buildings are quiet. The cellar network is best left to squads that have already built up the XP needed for reliable stealth play, which lines up well with a beginner progression guide that focuses on safe leveling routes.
Ronograd Objective Locations and How to Chain Them
Objective markers are the visible skeleton of any Ronograd raid, but the brm5 objective locations you choose, and the order you clear them, decide the outcome. Most operators default to the central market, which is exactly why the central market feels crowded and unrewarding. A more reliable brm5 map strategy is to start at the outer zones and spiral inward, so by the time you reach the center the high-traffic objectives have been partially looted by retreating squads you can ambush.
| Objective Cluster | Recommended Order | Why This Order |
|---|---|---|
| Yard → Docks → Market | Yard first, docks second, market last | Loot the quiet zones before the loud one |
| Market → Residential → Yard | Market first, residential second, yard last | Burn down the contested zone early |
| Residential → Docks → Yard | Residential → docks → yard | Lowest-risk start, escalation in the middle |
| Yard → Residential → Docks | Yard → residential → docks | Best for short raids that need fast exfil |
A second layer of strategy is the off-grid objective locations that don't appear as primary markers but are required for specific operations. These usually appear as small icons in the operation briefing, and a good brm5 map locations list should mark them in your mental map. Examples include the sub-basement under the library, the lockbox in the Foreman's office, and the stolen documents on the dock crane, each of which is a required step for at least one of the Ronograd operations in the campaign.
For a deeper look at how the campaign operations tie into these locations, the BRM5 Ronograd story and operations hub is a good companion reference, especially when you're running the operations that require both a primary objective and an off-grid secondary.
Shortcut Alleys and Patrol Traps
Shortcuts in Ronograd are not just convenience routes; they are patrol traps if used incorrectly. The most common mistake is sprinting through the alley behind the central market, because three different patrol routes cross that alley at staggered intervals. Experienced teams either smoke it or use it only after the patrol timer has visibly reset.
| Route | Shortcut Value | Patrol Risk | Best Use |
|---|---|---|---|
| Cold storage rear alley | High | Low | Mid-raid reposition |
| Library sub-basement passage | Medium | Medium | Stealth chain only |
| Residential crawlspace 3B | Medium | Low | Flank routes |
| Overpass catwalk (yard) | High | High | Loud raids only |
| Drainage tunnel (docks) | High | Low | Cross-zone movement |
The drainage tunnel and the cold storage rear alley are the two most reliable shortcuts. The overpass catwalk looks great on paper but is exposed from three angles, so only use it with a dedicated overwatch partner or as a hard push on a contested objective.
Recommended Loadout and Approach by Playstyle
A brm5 map strategy only works if your loadout matches the route you plan to take. The same squad running a stealth chain through the residential crawlspaces needs a very different kit from the same squad doing a loud overpass push on the yard. The table below pairs each Ronograd approach with the type of loadout that fits it best, and you can compare specific weapons and attachments in the BRM5 best loadout guide.
| Approach | Recommended Kit Type | Why |
|---|---|---|
| Stealth chain (residential → cellar) | Suppressed SMG + sidearm | Keeps noise low across crawlspaces |
| Mid-range yard sweep | Carbine + DMR | Handles both close and overpass threats |
| Docks vertical play | PDW + shotgun | Strong in catwalks and crane cabs |
| Loud market push | Assault rifle + LMG | Volume of fire for contested objectives |
| Quick exfil rotation | PDW only | Mobility over firepower |
Uniforms matter too, because Ronograd rewards camouflage that breaks up silhouettes in urban shade. A solid uniform and patch reference is worth pairing with your route planning, especially if you intend to spend most of the raid in the residential zone where dark urban camo is harder to spot than desert patterns.
A Sample Three-Objective Route for Beginners
A clean brm5 map for beginners run on Ronograd looks roughly like this: start in the Southern Residential zone, clear apartment 3B and the cellar network Block C, then rotate through the cold storage rear alley into the Eastern Dockside. From the docks, take the drainage tunnel toward the Northern Industrial Yard and finish at the Foreman's office lockbox before extracting. This route touches four off-grid objective locations, hits two reliable loot rooms, and never requires you to fight through the central market unless you choose to.
| Step | Location | Why |
|---|---|---|
| 1 | Apartment 3B + Cellar Block C | Quiet start, learn the crawlspaces |
| 2 | Cold storage rear alley | Shortcut to the docks |
| 3 | Drainage tunnel (docks) | Cross-zone movement + storeroom cache |
| 4 | Foreman's office lockbox | High-tier optic, exfil nearby |
This kind of structured route is also why the BRM5 map comparison and Sawang reference is useful once you outgrow Ronograd as your home map, because the same pattern of zone-first / center-last applies to most of the other BRM5 maps as well.
Ronograd vs Other BRM5 Maps at a Glance
For players weighing brm5 map size comparison data against playtime, the practical question is which map to grind for what. Ronograd is not always the right answer. The table below summarizes the trade-offs so you can pick the right map for the activity you actually want.
| Map | Best Activity | Grind Type | Raid Length |
|---|---|---|---|
| Ronograd Open World | Loot variety, operations | Mixed | 25–35 min |
| Kingdom of Sawang | XP farming, CQB practice | Combat | 15–20 min |
| Ghazni (RGE) | Squad fights | PvP-heavy | 20–25 min |
| Ronograd City | Mid-range combat | Mixed | 20–30 min |
A good brm5 map strategy is therefore not "always play Ronograd" but "play Ronograd when the operation requires it or when your squad wants loot variety." For pure XP and muscle-memory training, the tighter maps deliver faster runs, and Sawang in particular is a strong side-by-side comparison if you want to feel the difference in pace for yourself.
Frequently Asked Questions
What is the single best brm5 ronograd secret for new squads?
The Drainage Tunnel Junction behind the fish market is the highest-value Ronograd secret for new squads because it serves as both a loot source and a safe cross-zone route. It avoids the central patrol loop and lets a team move from the docks into the residential zone without exposing itself on the street. Memorize the grate location and the patrol timer that runs past it.
How should beginners approach the brm5 ronograd secrets without dying early?
Treat the southern residential zone as your training ground for the first month, because it is the quietest area on the map and contains three of the easier off-grid objective locations. A practical brm5 map for beginners plan is to clear apartment 3B, the cellar network under block C, and the rooftop greenhouse before moving into the docks. Use the cold storage rear alley as your first shortcut so you learn the timing of dock patrols without taking long fights.
How does Ronograd compare to the Kingdom of Sawang in size and loot?
Ronograd is roughly three to four times the playable footprint of Sawang, and loot density per square meter is noticeably lower, but the variety per raid is much higher. For a brm5 map size comparison in practical terms, Sawang delivers faster runs and tighter CQB fights, while Ronograd rewards route planning, stealth chains, and patience. If your goal is XP speed, Sawang wins; if your goal is operations and unique loot, Ronograd is the right home.
Where are the off-grid brm5 objective locations in the Northern Industrial Yard?
The most consistent off-grid objective locations in the yard are the Warehouse B Sub-Basement, the Foreman's Office Lockbox, and the Yard Generator Room. Each one requires a small detour from the main path, and each one is required by at least one operation in the campaign. Pair the warehouse sweep with an overpass overwatch, because the sub-basement entrance is exposed from the loading bay catwalk.
What loadout works best for a stealth Ronograd run?
A suppressed SMG with a sidearm and a low-visibility uniform is the cleanest kit for a stealth Ronograd chain, especially if you intend to use the residential crawlspaces and the drainage tunnel. Loud kits are viable in the yard and the market, but they give up the patrol avoidance that makes the off-grid objective locations worth running in the first place. Match the kit to the route, not the other way around.