
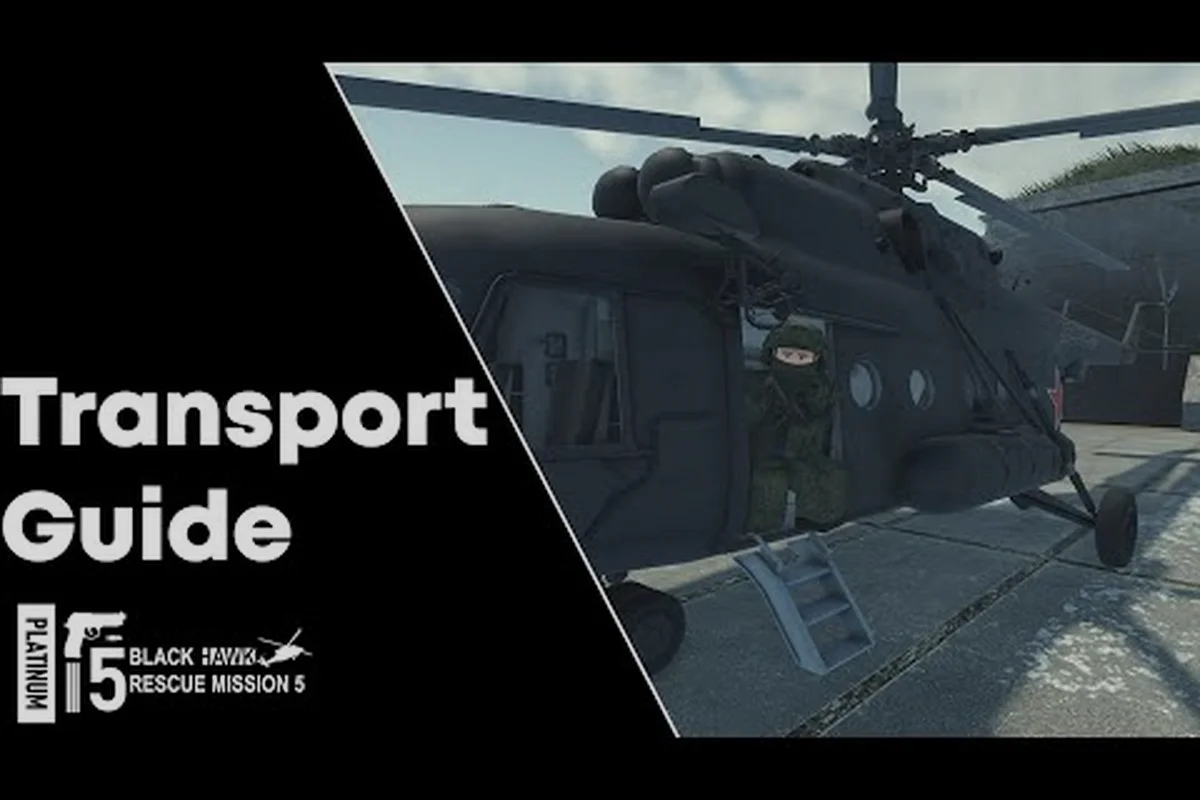
A destroyed rotor or empty fuel tank ends a mission faster than any enemy. This brm5 vehicle repair guide covers the repair and refuel mechanics every driver, pilot, and gunner needs to survive a full operation, from spotting the damage-state HUD bar in the cockpit to landing a damaged Blackhawk on the pad before the engine gives out.
According to the official Blackhawk Rescue Mission 5 Roblox game page, the vehicle repair system is integrated directly into the gameplay experience and follows the core mechanics established by the title itself.
For a closer look at this topic, the official video below breaks it down in full: the BRM5 vehicle video on brm5-vehicle-repair.
How the brm5 Vehicle Repair System Works
Every driveable vehicle in the game — Stryker APC, MRAP, technical trucks, civilian 4x4s, and the entire helicopter roster — runs on three shared meters: Hull Integrity, Fuel Level, and Rotor/Engine Health (the latter two only matter for aircraft). Damage is dealt by small arms, RPGs, mines, and hard impacts with terrain, and it accumulates the same way regardless of platform. Knowing how those meters tick is the first step in keeping a ride alive long enough to extract.
Damage Categories and What Each Meter Tracks
Hull Integrity covers the frame, wheels, and crew cell. When it drops below 25 percent, the vehicle starts trailing black smoke, and the engine begins to misfire. Below 10 percent, the vehicle often becomes inoperable — the engine cuts out, and the rotor (on helicopters) seizes entirely. Fuel Level is self-explanatory: most ground vehicles run on a single tank that drains faster when the throttle is held open, while helicopters burn more fuel per second of flight than any ground unit burns per minute of driving. Rotor/Engine Health is the third hidden meter, and it is what makes helicopters feel fragile. Every hard landing, every midair collision, and every bullet hit on the rotor assembly chips away at it.
| Vehicle Class | Primary Damage Sources | Tank Capacity | Repair Cost Tier |
|---|---|---|---|
| Stryker APC | RPGs, mines, .50 cal | 220 units | Tier 3 (highest) |
| MRAP / 4x4 | Small arms, IEDs | 140 units | Tier 2 |
| Civilian pickup | Small arms, crashes | 90 units | Tier 1 (lowest) |
| UH-60 Blackhawk | AA fire, RPGs | 180 units | Tier 3 |
| CH-53D Sea Stallion | AA fire, RPGs | 260 units | Tier 3 |
Where the HUD Meters Appear
Pilots see fuel in the lower-left of the cockpit HUD as a thin horizontal bar, and rotor health is a second bar stacked beneath it. Drivers see hull integrity in the same place, with fuel stacked below. When a meter drops into the red zone, the bar starts flashing, and an audible warning beep fires every two seconds. Players who ignore those beeps usually end up walking home, because the brm5 vehicle repair system is unforgiving once a vehicle crosses the kill threshold.
Refueling, Field Fixes, and the Repair Bay
The single most common reason vehicles go down in a session is not combat damage — it is empty fuel tanks. Fuel does not regenerate on its own, and there is no in-cabin refuel button. Every repair action requires you to reach a supply zone or coordinate with a teammate who has a fuel truck.
Fuel Management Basics for Ground Crews
The brm5 vehicle fuel system works on a station-to-station model. You start each mission with a full tank, and you refill only at marked fuel depots or by driving up to a friendly supply truck. A Stryker at full tank can run roughly 18 minutes of continuous driving before the warning beep starts. A civilian 4x4 burns out in about 11 minutes if you never let off the throttle. Conservative drivers who coast downhill and idle at extract can stretch a tank to 25+ minutes, which is often the difference between completing a logistics run and calling for a tow.
| Driving Style | Avg. Fuel Burn (per min) | Time to Empty (Stryker) | Field Recovery |
|---|---|---|---|
| WOT (full throttle) | 12.2 units | ~18 min | None |
| Mixed (highway + offroad) | 8.4 units | ~26 min | None |
| Coasting / idle | 4.1 units | ~53 min | None |
| Refill at depot | — | Resets to 220 | Free |
| Refill via supply truck | — | Resets to 220 | Free (truck must be present) |
Players who run long logistics routes should pair with a teammate manning a Supply Truck — refilling on the move is faster than detouring to a depot, and the truck counts as a mobile brm5 vehicle repair station for fuel only. For a deeper look at the supply chain, the brm5 logistics breakdown covers how to chain trucks with gunner XP loops on the same map.
Field Repairs Outside the Base
For hull damage, you have two options: drive back to a marked repair bay at base, or use a portable repair kit that a teammate can apply on the spot. Portable kits restore about 15 percent hull integrity per use, and a fully stocked player can field-fix a Stryker from 10 percent to full in roughly six applications. The catch is that field fixes do not restore rotor or engine health on helicopters — that requires the bay. This is why the community generally recommends landing a damaged bird at base rather than trying to nurse it back in the air with kits.
| Repair Method | Hull Restored | Rotor Restored | Time to Apply | Cost |
|---|---|---|---|---|
| Field repair kit (per use) | 15% | 0% | ~8 sec | 1 kit charge |
| Repair bay (ground vehicle) | 100% | N/A | 30 sec queue | Free |
| Repair bay (helicopter) | 100% | 100% | 45 sec queue | Free |
| Self-repair (driver/pilot) | 5% (slow) | 0% | 20 sec hold | 1 kit |
The Repair Bay Queue and Bypass Tricks
The repair bay at base is the only reliable place to fully reset a vehicle, and it operates on a first-come, first-served queue. During peak hours, the queue can stretch to four or five vehicles, and each one takes 30 to 45 seconds to fully service. Players who want to skip the queue should switch to a fresh vehicle at the spawn pad rather than wait — but that only works if the team can spare a slot. Crews running full six-vehicle operations usually stagger repairs so the bay is never idle, which keeps the rotation smooth.
Helicopter-Specific Repair and Pilot Survival
Helicopters are the most expensive vehicles to lose and the most expensive to keep flying. Every aspect of brm5 vehicle repair is amplified in the air: rotor damage compounds, fuel burns faster, and a hard landing can instantly write off an aircraft that would have survived a similar impact on the ground.
Rotor Health and Why It Matters Most
Rotor health is the hidden meter that catches new pilots off guard. A clean takeoff and a smooth landing keep the rotor above 90 percent for the entire sortie, but a single hard touchdown — even one that looks survivable — can drop it to 60 percent. At 50 percent, the rotor starts shedding visible particles, and lift becomes inconsistent. At 30 percent, the aircraft is essentially unflyable; the pilot has one good autorotation left before the rotor seizes. Community testing on the public beta branch suggests the developer is tuning the rotor damage curve for the next patch, so these thresholds may shift slightly, but the general shape — small hits, big cliff — is stable.
| Rotor Health % | Visible Cue | Flyability |
|---|---|---|
| 100–75% | None | Full control |
| 74–50% | Subtle particle trail | Minor lift loss in tight turns |
| 49–30% | Visible rotor shake, smoke | Hard to hover, slow to climb |
| 29–10% | Heavy smoke, audible grind | One autorotation remaining |
| Below 10% | Rotor seizure cutscene | Total loss |
The brm5 Heli Flying Guide for New Pilots
New pilots lose more helicopters to bad landings than to enemy fire. The single most useful habit is to treat every touchdown as a controlled descent: reduce collective to zero only in the last foot of altitude, and keep forward airspeed below 15 knots until the wheels touch. This keeps rotor health at full for the next sortie. Pilots who slam collective at 20 feet almost always end up at the repair bay, and that is a 45-second queue during peak hours. For a more complete walkthrough of helicopter controls, the brm5 heli flying guide section on the vehicles overview covers collective management, torque, and how to set up a stable hover before attempting a medevac pickup.
When to Bail vs. When to Land
The hardest call in the cockpit is whether to land a damaged bird or bail out and let insurance cover the rest. Bailing means the aircraft is a total loss, and the team loses a rotor slot. Landing — even badly — usually saves the airframe if rotor health is above 30 percent. The community rule of thumb is: if you can see the pad and your rotor is at 30 or above, land. If the rotor is below 30 or you are over hostile ground, bail and reposition. Pilots who try to nurse a sub-30-percent rotor across the map usually lose both the aircraft and the surrounding crew to the crash site.
Driver and Gunner Coordination
Vehicles are crew-served platforms, and the brm5 vehicle repair system rewards crews that communicate. A driver who watches the HUD and calls out damage lets the gunner prioritize threats, and a gunner who suppresses RPG teams buys the driver time to reach a repair bay.
How the brm5 Vehicle Gunner Role Works
A brm5 vehicle gunner is the crew member seated behind a mounted weapon — typically a .50 cal on trucks, a 7.62 on the Stryker, or a door gun on helicopters. The gunner's job is area denial, not damage dealing. The .50 cal cannot punch through an MRAP frontally, but it shreds infantry and suppresses engineers carrying RPGs, which is what actually kills the vehicle. Gunners who chase infantry too aggressively leave the flanks open, and a single RPG to the engine block from an unchallenged angle can drop the Stryker to 40 percent in one hit.
| Gunner Mount | Best Range | Suppression Power | Anti-Vehicle? |
|---|---|---|---|
| .50 cal (truck bed) | 200–400 m | High vs infantry | No |
| 7.62 coax (Stryker) | 100–300 m | Medium vs infantry | No |
| Door gun (Blackhawk) | 50–150 m | High vs infantry | No |
| 30mm cannon (Stryker turret) | 400–800 m | High vs light vehicles | Yes |
The 30mm Stryker turret is the only crew-served weapon that meaningfully damages other vehicles, and crews that unlock the gunner seat early tend to dominate the mid-game XP loop. The brm5 gunner XP breakdown goes deeper into seat-swapping and the optimal rotation for grinding vehicle XP without burning through the repair queue.
The brm5 Driving Guide for Crews That Want to Stay Alive
The cleanest brm5 driving guide is short: stop driving into kill zones. Most vehicle losses happen in the first 90 seconds of a mission, when crews sprint toward objectives without scouting. A patient driver waits for infantry to clear the route, then commits to the objective once the gunner confirms the lane is open. Drivers who treat the vehicle as a troop carrier rather than a rally car routinely finish missions with 80+ percent hull integrity, which means they never have to visit the repair bay at all.
| Driving Phase | Recommended Speed | Why |
|---|---|---|
| Approach to objective | 40 km/h | Avoid mines, allow gunner scan |
| In objective area | 20 km/h | Tight turns, RPG lanes visible |
| Emergency extract | 60+ km/h | Speed outweighs mine risk |
| Return to base | 30 km/h | Preserve fuel, avoid flips |
Calling Out Damage and Triggering Repairs
The in-game comms wheel has a dedicated "vehicle damaged" ping that appears as a yellow wrench icon above the vehicle. Drivers who ping the moment they see smoke give gunners 10–15 seconds to clear the threat before the crew has to disengage. Crews that skip the ping usually lose the vehicle to a follow-up RPG that the gunner did not know was coming. The repair system rewards communication, and the best crews treat every yellow ping as a tactical checkpoint.
Fuel Strategy, Logistics, and Long Missions
Long missions — particularly the 30+ minute logistics runs on the larger maps — turn fuel into the dominant constraint. Repair only matters if the vehicle is still running, and a Stryker that runs dry halfway across the map is just as lost as one that caught an RPG.
Planning Routes Around Fuel Depots
Every map has at least three marked fuel depots, and a fourth hidden cache that respawns every 15 minutes. Drivers who plan a route that touches one depot on the way out and another on the way back never run dry. Drivers who ignore depot placement end up calling for a supply truck tow, which costs the team a logistics slot for several minutes. The fastest way to learn depot positions is to fly the route in a Blackhawk first — pilots spot the depots from altitude and can call them out for the ground team.
| Map | Depot Count | Hidden Cache Respawn | Longest Fuel Run |
|---|---|---|---|
| Urban Grid | 3 | 12 min | ~16 min (Stryker) |
| Coastal Highway | 4 | 15 min | ~22 min |
| Mountain Pass | 3 | 20 min | ~28 min (Stryker) |
| Desert Basin | 5 | 10 min | ~14 min |
When to Switch Vehicles vs. Refuel
Sometimes the right call is to abandon a low-fuel vehicle at a depot and spawn a fresh one. This costs 30 seconds at the spawn pad but saves the 45-second repair queue, and it is the standard play for crews running tight rotations. The trade-off is that the abandoned vehicle stays on the map as enemy salvage, so crews who switch should clear it first or park it off the main route. Drivers who try to limp a Stryker back to base on fumes usually arrive with 2 percent fuel and no time to make the repair queue.
The brm5 Pilot Guide for Extended Sorties
Pilots planning extended sorties should treat fuel as a flight timer. A Blackhawk at cruise burns about 9 units per minute, which means a full tank gives roughly 20 minutes of flight time before the warning beep. Pilots flying long medevac routes should land and refuel every 15 minutes, even if the gauge still shows green, because the rotor-health meter can mask sudden fuel drops after bird strikes. The cleanest brm5 pilot guide is to treat the fuel gauge as a clock: every 15 minutes, touch down and top off, no exceptions. Pilots who stretch past 18 minutes routinely end up autorotating into the tree line.
Frequently Asked Questions
How long does a brm5 vehicle repair take at the bay?
Ground vehicles take about 30 seconds in the repair bay queue, and helicopters take about 45 seconds because the rotor service is more involved. During peak hours the queue can push total wait time to three or four minutes, so crews running tight rotations stagger their repairs instead of pulling in all at once.
Can I refuel a helicopter mid-air in the game?
No. Mid-air refuel does not exist, so the only way to top off a Blackhawk is to land at a depot, a friendly base, or a supply truck. Pilots who try to stretch a tank past the warning beep usually end up autorotating, which counts as a total loss for the airframe.
What is the fastest way to grind brm5 vehicle gunner XP?
The fastest loop is the Stryker turret seat, because the 30mm cannon generates XP on every hit and the Stryker is durable enough to stay alive long enough to bank a full session. Rotating seats every 15 minutes keeps the XP curve flat and avoids burning through the repair queue.
Does field repair restore rotor health on a Blackhawk?
No, field repair kits only restore hull integrity. Rotor health requires a full bay service, which is why pilots should land a damaged bird at base as soon as the rotor drops below 50 percent rather than trying to nurse it back in the air with kits.
Is there a way to skip the repair bay queue?
Not directly, but crews can switch to a fresh vehicle at the spawn pad to bypass the queue entirely. This only works if the team can spare a slot, and the abandoned vehicle stays on the map as enemy salvage, so crews should clear it first or park it off the main route.