
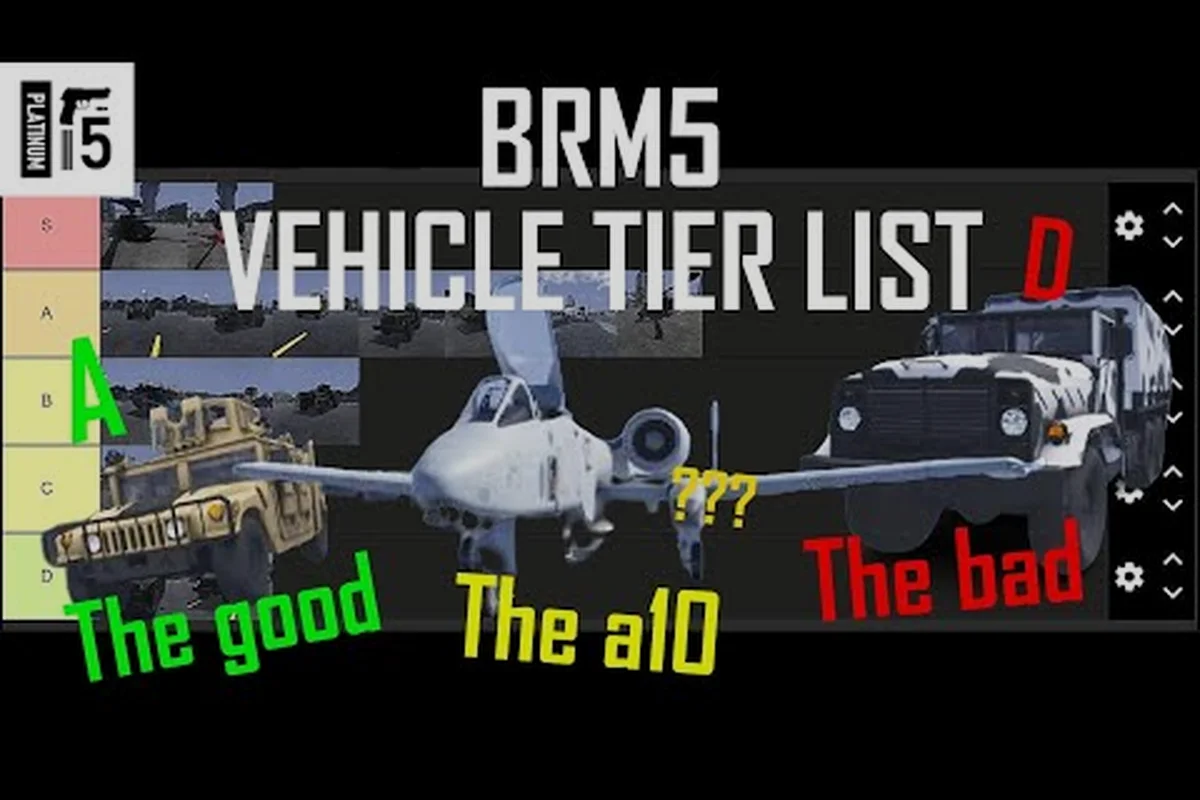
The brm5 vehicle update drops two headline rides — a new utility helicopter and a reinforced Armored Humvee — and reshapes how solo crews and small squads approach the Ronograd battlefield. Players who used to depend on the trusty Stryker or CH-53D Sea Stallion now have fresh options for transport, fire support, and rapid extraction. This guide breaks down every addition, compares each vehicle's role, and gives you field-tested brm5 vehicle tips you can use the moment you spawn in.
For the authoritative reference, the official Roblox page keeps the complete details: the official PLATINUM FIVE Roblox group for brm5-vehicle-update.
What's New in the brm5 Vehicle Update
The recent brm5 vehicle update is the largest mobility patch since the Stryker landed in the game, and it layers fresh content on top of the existing vehicle roster rather than replacing it. Two new drivable vehicles, a refined purchase and repair interface, and a handful of balance tweaks are all live right now, as confirmed by the BRM5 Vehicle Guide Video from the community.
New Rides Added to the Garage
-
AH-6M Light Attack Helicopter — a small, fast, hard-hitting rotor added as the brm5 new helicopter of the patch, designed for two crew seats (pilot + gunner)
-
Armored Humvee (M1151 HMMWV Up-Armored) — a four-seat tactical truck with reinforced plating and a roof-mounted M2HB mount, the headline brm5 armored humvee
-
Repair & Refuel Station refurbish — every map now has its station more clearly marked on the tactical map, and the repair cost is consistent across vehicles
Key Changes at a Glance
| Change | Detail | Why It Matters |
|---|---|---|
| New helicopter | AH-6M added to hangar | Faster scout, real CAS role |
| New ground vehicle | M1151 armored humvee | Survives small-arms and shrapnel |
| Repair UI | Unified price across all vehicles | Easier cost planning |
| Fuel mechanic | Helicopters burn fuel faster than before | Plan your sortie length |
| Map markers | Garage, repair, fuel icons standardized | Less downtime roaming |
These additions are designed to give players a real choice between heavy transport and tactical support, so your squad's vehicle pick now carries as much weight as your loadout.
The New Helicopter — AH-6M Light Attack
The brm5 new helicopter is the AH-6M Light Attack, a small bird that swaps the CH-53D Sea Stallion's bulk for speed and firepower. It seats two, flies much faster than the Sea Stallion, and carries twin M134 Minigun pods that chew through infantry and lightly armored targets.
AH-6M vs CH-53D Sea Stallion
| Attribute | AH-6M Light Attack | CH-53D Sea Stallion |
|---|---|---|
| Crew seats | 2 (pilot + gunner) | Up to 6 troops |
| Top speed | Very fast | Moderate |
| Armament | Dual M134 Miniguns | Door guns only |
| Armor | Light — vulnerable to AA | Light — vulnerable to AA |
| Best role | Recon, CAS, fast insertion | Mass troop transport |
| Solo viability | High — one crew can fly + gun | Low — needs a flight crew |
The AH-6M is purpose-built for close air support and recon, while the Sea Stallion remains the brm5 best helicopter for moving a full squad. If you're flying solo, the AH-6M is the right pick because one person can handle both seats, and the miniguns give you something to fight back with during an insertion.
AH-6M Solo Crew Tips
Running the AH-6M as a one-person crew is a viable brm5 solo vehicle playstyle, but it requires discipline. The pilot seat is the default, and the gunner camera swaps in only when you hold the seat-swap key. Community pilots report that auto-hover at low altitude makes gun runs far easier, especially over the Ronograd industrial zone where you can hover behind a smokestack and lay down fire without exposing the tail rotor. Fuel drains noticeably faster than in the Sea Stallion, so plan a sortie of roughly four to five minutes before you need to land at a fuel depot, and always keep one repair point marked on your map in case the tail rotor takes a hit from ground fire.
The Armored Humvee — M1151 Up-Armored
The brm5 armored humvee is the ground-vehicle headline of the patch, and it slots in between the open-top Humvee and the heavier Stryker APC. Four crew seats, a roof-mounted M2HB .50 cal, and reinforced steel plating that shrugs off small-arms and indirect shrapnel make it the new favorite for moving a fire team through contested streets.
M1151 vs Stryker APC vs Open-Top Humvee
| Attribute | M1151 Armored Humvee | Stryker APC | Open-Top Humvee |
|---|---|---|---|
| Crew seats | 4 | 2 + 6 troops | 4 |
| Armor | Up-armored — resists small arms | Heavy — resists most calibers | None — open top |
| Top weapon | M2HB roof mount | Commander's CROWS M2 | Door guns |
| Speed | Fast on road | Slow on rough terrain | Fastest of the three |
| Best role | Fire-team assault, escort | Heavy frontline, transport | Quick recon, light logistics |
| Solo crew viability | High — driver + gunner works | Low — gunner role is essential | High |
The armored humvee finds its sweet spot as a brm5 vehicle strategy pick for mid-size squads of two to three, where one player drives and another mans the .50 cal. It is also the most forgiving ground vehicle for newer players because the up-armor plating buys time when a flank goes wrong, and the four-seat layout means you can still field a small dismount team after you park.
When to Pick the M1151 Over the Stryker
The Stryker is still the heavy frontline ride, but it costs more to buy, repairs slower, and gets bogged down on mud or rubble. The M1151 trades raw armor for speed, so pick it when your objective is on the opposite side of the map and you need to get a fire team there without losing anyone to a long road march. It is also the better pick when the operation has multiple waypoints instead of one central objective, because you can roll between them quickly and use the M2HB to suppress any contact you take along the route. For a deeper comparison of the Stryker's strengths, the brm5 stryker guide covers its gunner XP farming and seat setup in detail.
brm5 Vehicle Tips and Strategy for Every Role
Vehicles in this game are tools, not trophies, and the brm5 vehicle update rewards crews that match the ride to the mission. The three roles below cover how to use the new rides, when to fall back on the proven classics, and how to keep your crew alive long enough to enjoy any of them.
Solo Driver Playbook
Running a brm5 solo vehicle crew is a recognized playstyle, and the new patch makes it more viable than ever. The AH-6M and the M1151 are the two best solo picks, and each one supports a single player in a different way.
-
Pick the AH-6M for recon and quick-strike insertions. Use auto-hover over hard cover, and let the miniguns do the talking while you keep the bird behind terrain
-
Pick the M1151 when the mission requires you to escort an AI convoy or hold a road junction. The M2HB is lethal at 600 meters, and the armor lets you reposition after every burst
-
Always mark the repair station and the nearest fuel depot the moment you spawn, because solo crews have no one to send for help
-
Keep speed varied on roads — predictable vehicles are easy targets for AT crews
Squad Vehicle Strategy
A full squad of four has more options than any solo crew, and the brm5 vehicle update is tuned to make coordinated vehicle play feel rewarding. The standard loadout is one transport (Sea Stallion or Stryker) plus one combat vehicle (AH-6M or M1151), but smaller squads can run a single combat vehicle and dismount to clear objectives.
| Squad Size | Recommended Ride | Backup Ride | Notes |
|---|---|---|---|
| 1 player | AH-6M or M1151 | None | Solo vehicle, no fallback |
| 2 players | M1151 | AH-6M (1 pilot, 1 gunner swap) | Both seats usable |
| 3 players | M1151 + Sea Stallion | Stryker as third | One rider in each |
| 4 players | Stryker + AH-6M | Sea Stallion as third transport | Full combo |
Squad crews should always assign a dedicated driver and a dedicated gunner before they leave the spawn. The driver focuses on movement and terrain, the gunner tracks targets, and the passengers dismount only when the vehicle is parked behind cover. This is the same brm5 vehicle strategy used by experienced crews in the operation unlock bracket, and the brm5 operation unlock page covers the level requirements you'll need to bring before you run the harder missions.
Buying, Repairing, and Fueling
Each new vehicle has a price tag at the garage, and the brm5 vehicle update standardized the repair and fuel costs across the roster. According to community testing reported on the BRM5 Vehicle Guide Video, the AH-6M sits in the upper-mid price tier, while the M1151 armored humvee is more expensive than the open-top humvee but cheaper than a Stryker.
-
AH-6M price tier: upper-mid, comparable to the Sea Stallion
-
M1151 armored humvee: between the open-top humvee and the Stryker
-
Repair cost: unified percentage of the vehicle's value across all rides
-
Fuel: helicopters consume roughly twice the fuel of ground vehicles per minute of operation
-
Refuel at any marked station, and the cost scales with how empty your tank is
A useful brm5 vehicle tip is to never deploy a vehicle below 60% fuel or armor. The repair cost is flat, but the time lost to a stranded chassis in the middle of a contested objective is far higher than the credits you save by skimping.
Matching Vehicle Choice to Mission Type
Not every operation calls for the same ride, and the brm5 vehicle update deliberately gave us a roster flexible enough to handle every mission bracket. The table below is a quick reference, and the breakdowns that follow explain why these picks work.
| Mission Type | Best Pick | Runner-Up | Why |
|---|---|---|---|
| Long-range transport | CH-53D Sea Stallion | M1151 | Seats + range matter most |
| Urban assault | M1151 armored humvee | Stryker | Armor + M2HB shred infantry |
| Recon / CAS | AH-6M helicopter | Open-top humvee | Speed + miniguns |
| Heavy frontline | Stryker APC | M1151 | Crew-served weapons + armor |
| Escort / Convoy | M1151 | AH-6M | Fire-team firepower overhead |
| Night raid | AH-6M | M1151 (NV required) | Spotlight + thermal |
For urban assaults, the M1151 is the cleanest brm5 vehicle strategy pick. Streets create natural kill zones, and the up-armor plating keeps your crew alive while the roof gunner pours fire into windows and doorways. The Stryker is heavier but slower, which makes it vulnerable in tight alleys where you cannot build up momentum.
For long-range insertions, the Sea Stallion remains the brm5 best helicopter for pure transport. The AH-6M flies faster but burns more fuel, so on a 10-minute insertion across the Ronograd map, the Sea Stallion is the more fuel-efficient choice. For players who want to see how each vehicle handles different terrain types, the brm5 map tips page covers the night and weather variants that change vehicle handling.
For night raids, the AH-6M is the new meta. The helicopter can carry a searchlight and a thermal optic for the gunner, which means a two-person crew can spot and engage targets that ground crews would never see. Pair the AH-6M with a Stryker on the deck and you have a night raid combo that can clear an entire sector without dismounting.
Frequently Asked Questions
What is included in the brm5 vehicle update?
The brm5 vehicle update adds two new rides — the AH-6M Light Attack helicopter and the M1151 armored humvee — and unifies the repair and fuel prices across the entire vehicle roster. Map markers for garages, repair stations, and fuel depots are also standardized, which makes spawn-to-vehicle routing much faster.
How do I unlock the brm5 new helicopter?
The AH-6M is purchased directly from any map's vehicle garage once your operator reaches the standard helicopter unlock level, which is the same tier required for the CH-53D Sea Stallion. The bird then becomes part of your permanent roster and can be respawned for the listed credit cost per sortie.
Is the brm5 armored humvee better than the Stryker?
The M1151 armored humvee is faster, cheaper, and easier to crew than the Stryker, but it carries less armor and has no crew-served weapon besides the roof M2HB. For a four-player squad running urban assault, the M1151 is the better pick; for heavy frontline operations, the Stryker is still king.
Can you run a brm5 solo vehicle crew effectively?
Yes, and the new update makes it more viable than before. The AH-6M and the M1151 are the two strongest solo vehicle picks because each one lets a single player handle the driver and gunner seats without losing combat effectiveness. Always mark the nearest repair and fuel stations before you move, and avoid extended open-field travel.
What are the best brm5 vehicle tips for new crews?
Start with the M1151 armored humvee instead of the open-top humvee, because the up-armor plating forgives positioning mistakes new crews always make. Assign a dedicated driver and a dedicated gunner before you leave spawn, and keep speed varied on roads so AT crews cannot lead their shots.